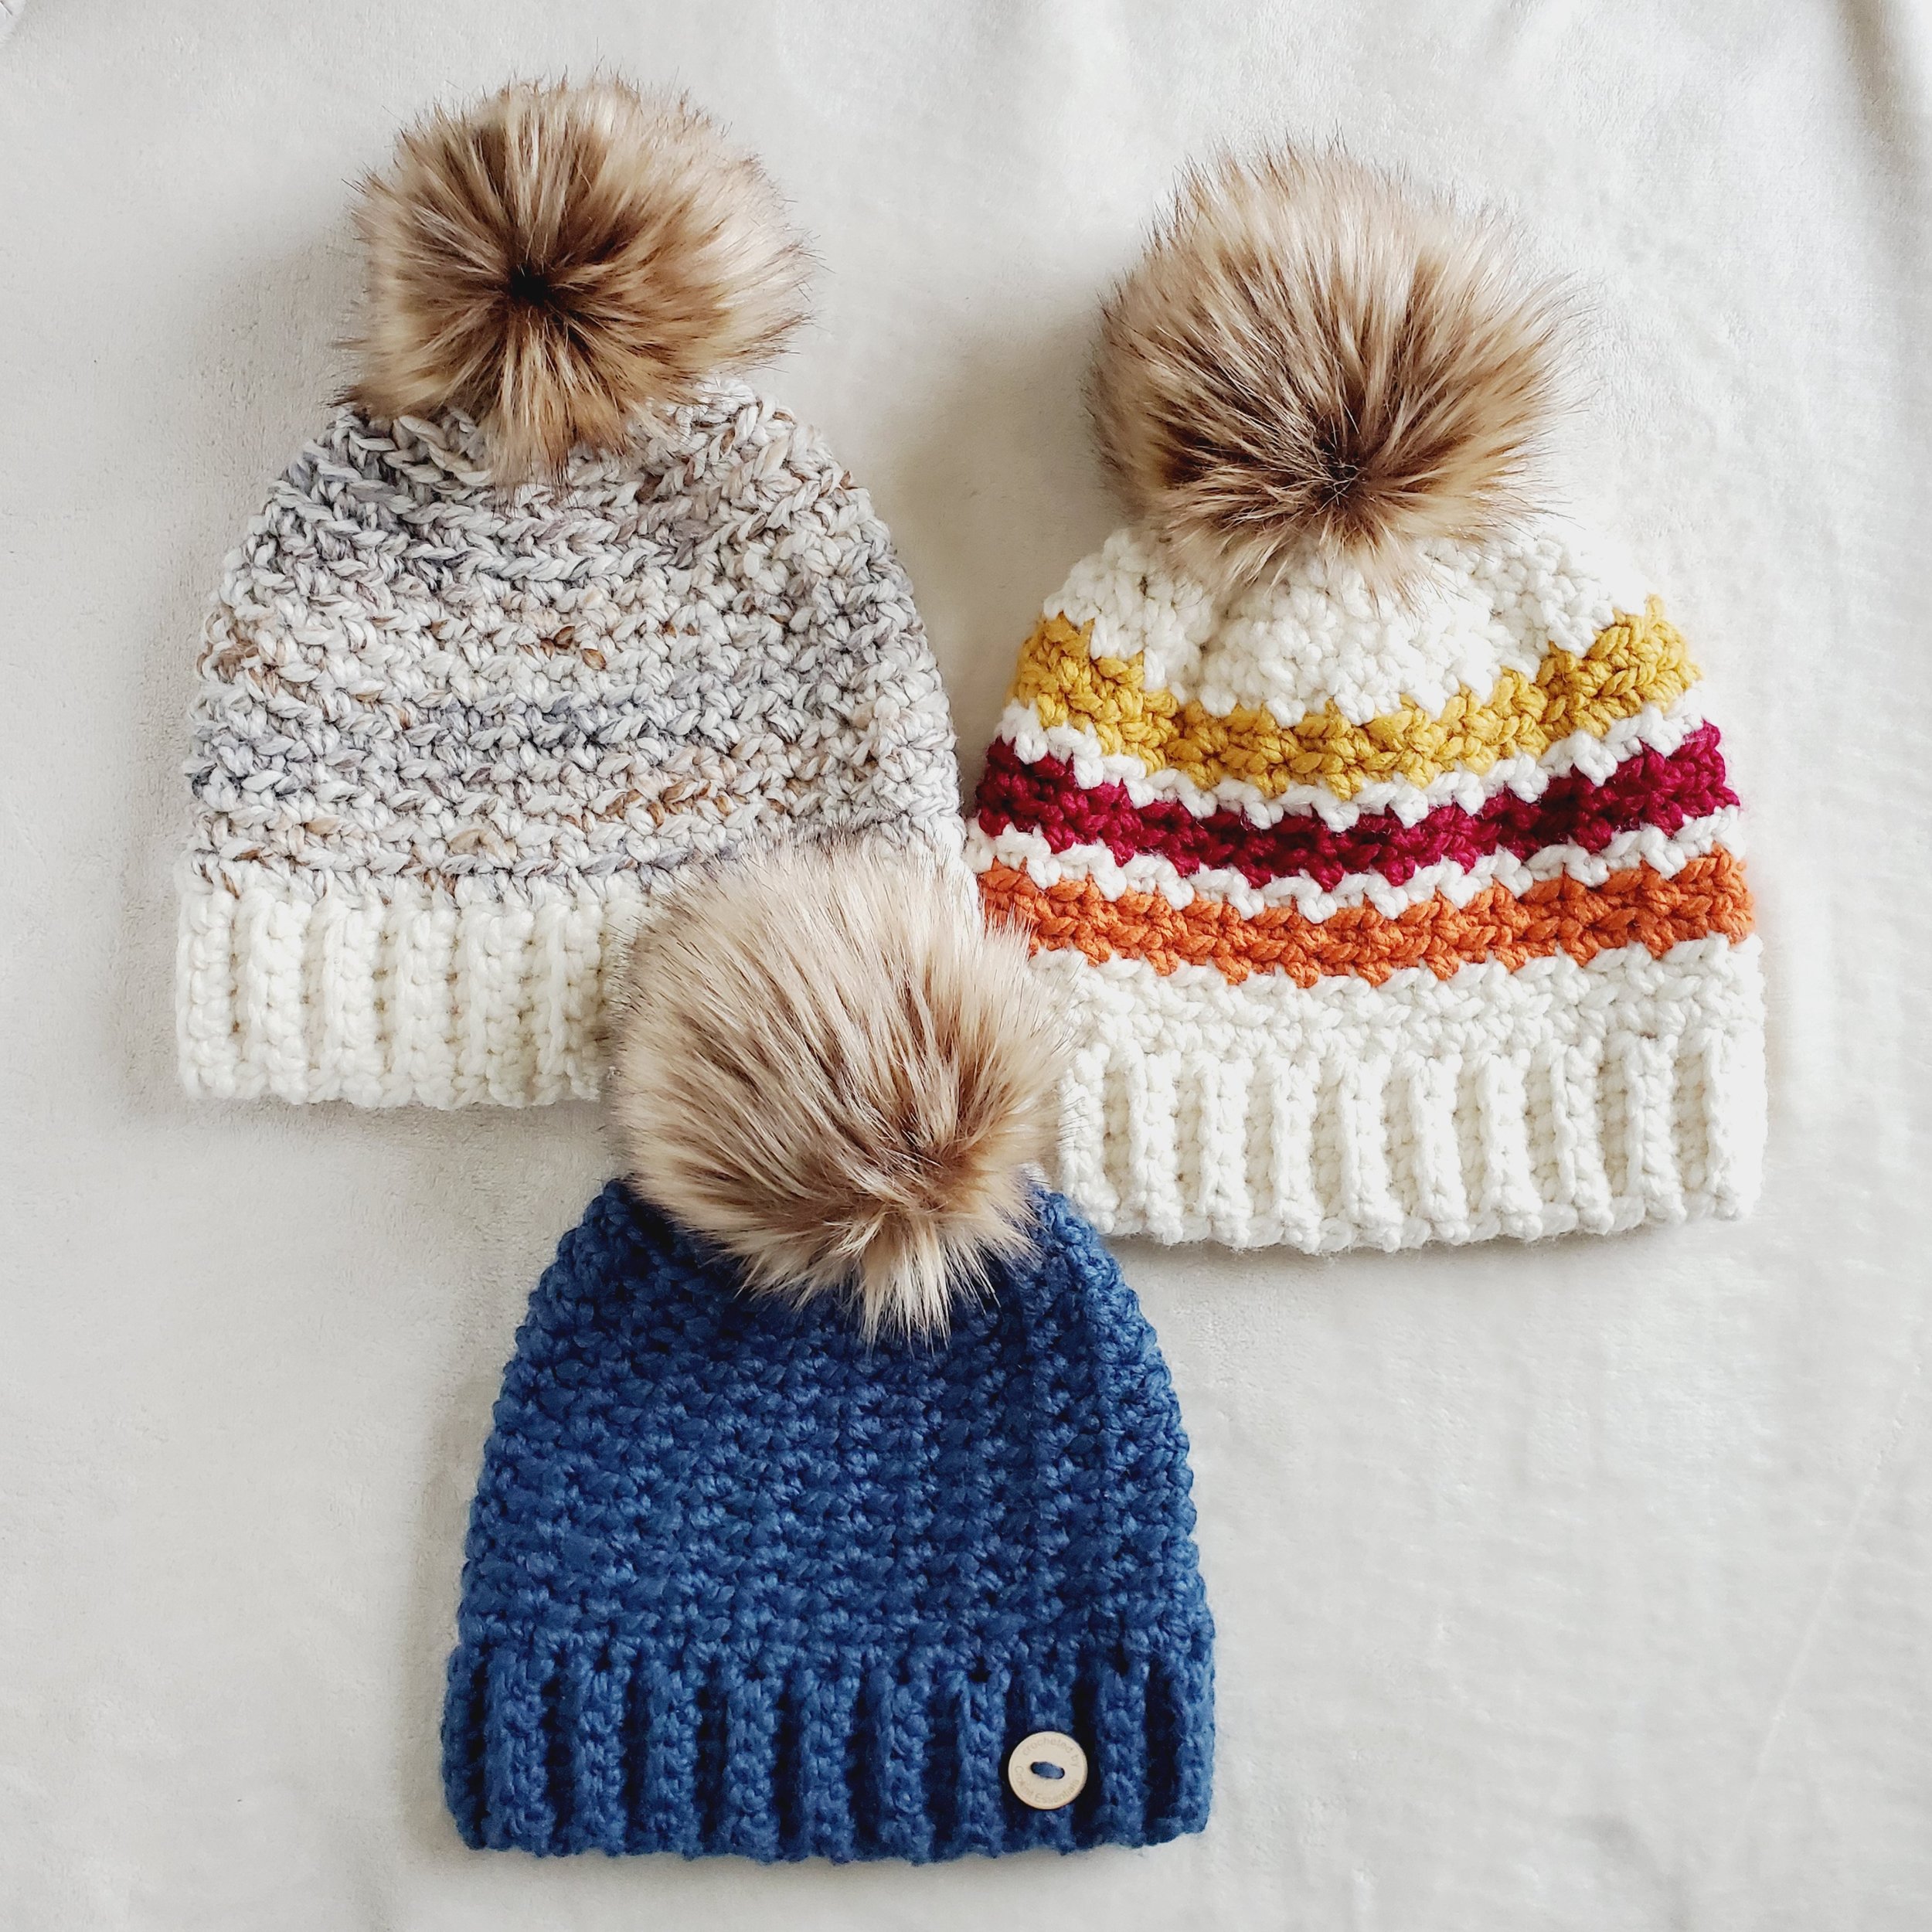
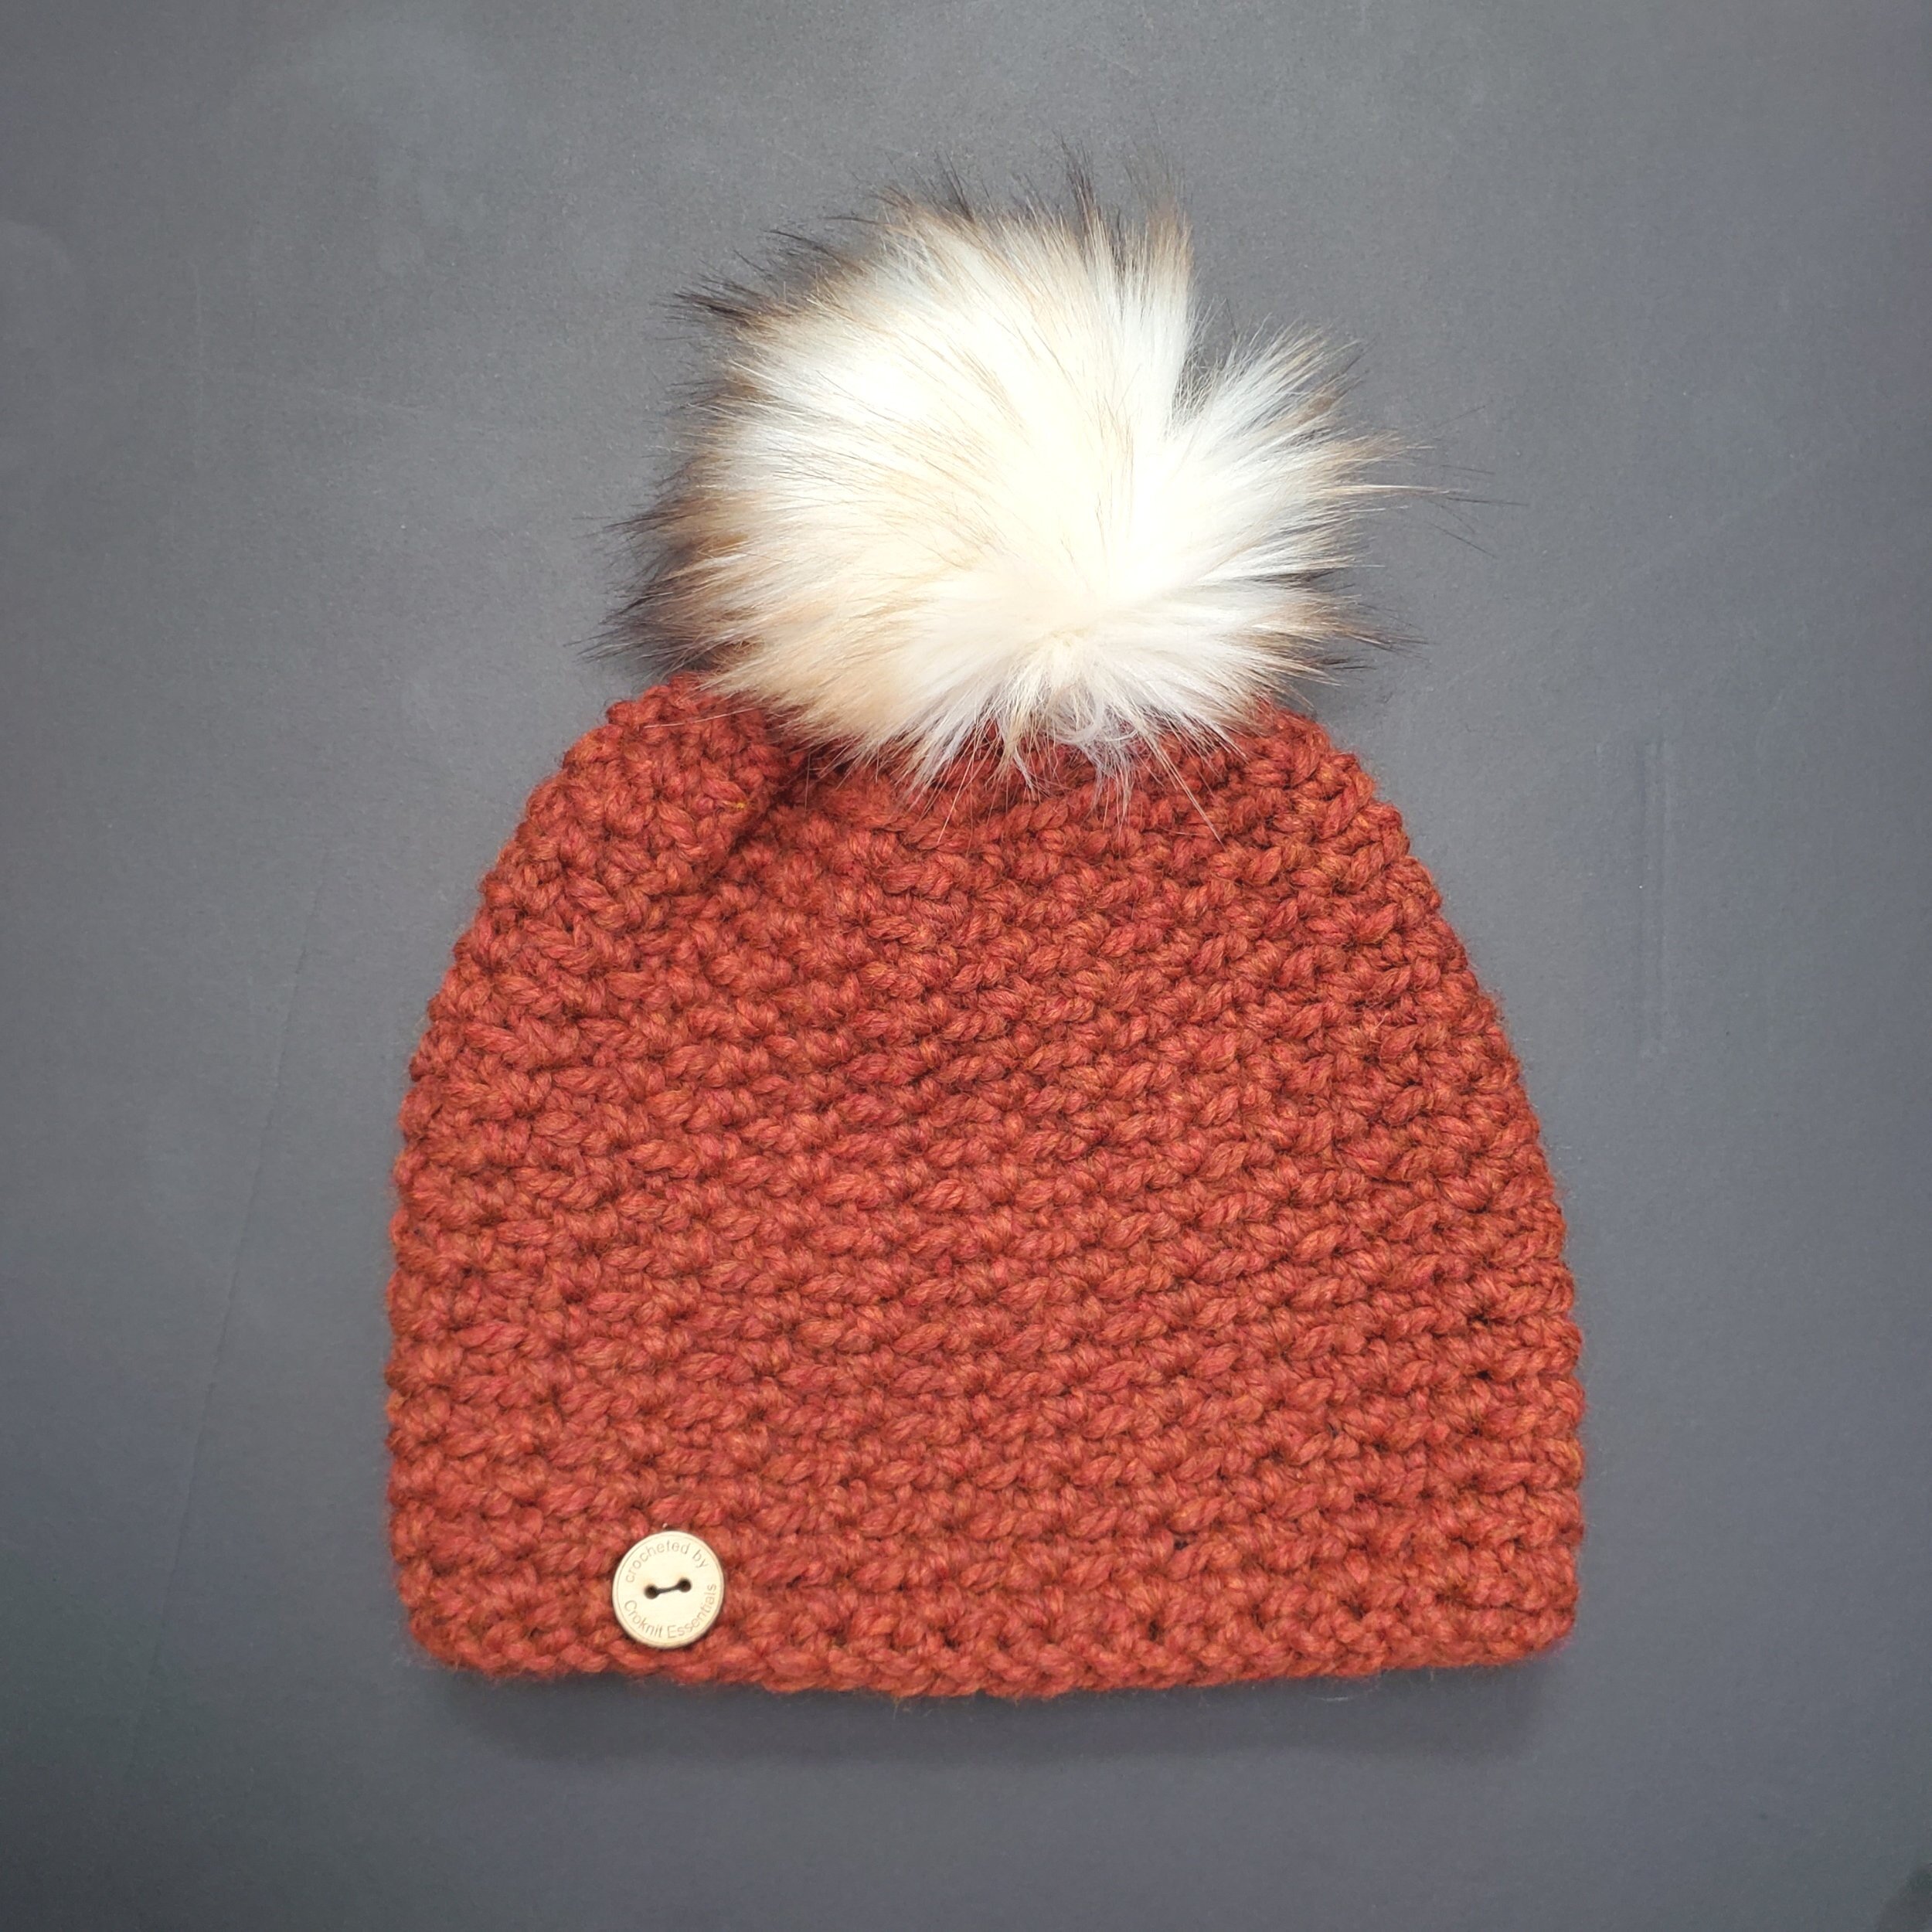
Allure hat- Crochet Easy 1 hour beanie
Here in north America, Polar Vortex can come out of nowhere, well not necessarily “out of nowhere” but it always seems like we are unprepared when it comes. The piercing cold air can be unbearable, so that is how Allure 2.0 came about. It is perfect for winter.
Disclaimer
This page contains affiliate link to product I use and love.If you click and purchase, I receive a small commission at no cost for you.
About
I wanted to give you options on the type of hat you want to wear, some people like a beanie with a brim, some do not. Where do you fall? I am quite flexible; it mostly depends on how it fits and details of the design.
1 hour beanie, Allure 2.0
Quick easy crochet beanie for a busy person
This is actually the second design using the same stitch with some changes, specifically adding the brim and crown shaping.
Purchase AD Free Pattern here
Inspiration
I was going for a traditional beanie shape, brim and a smooth crown, the first design had a gathered crown. I wanted to design a simple beginner friendly pattern with a texture twist. I love the ridges created from where the hook is inserted yet using a basic stitch; single crochet.
The hat is a quick make because it uses chunky weight yarn number 6 which is a great idea for markets if you sell physical products or a gift.
Yarn
For Allure 2.0 I used Wool Ease Thick and quick by Lion brand and there so many color choices. The yarn is sold in most retailers that carry yarn, Micheals stocks it all the time. It is affordable and you only need one skein to make it. It is 80% acrylic and 20% wool which means it keeps you warm when you are out, be it waiting for bus or train during your commute.
Design
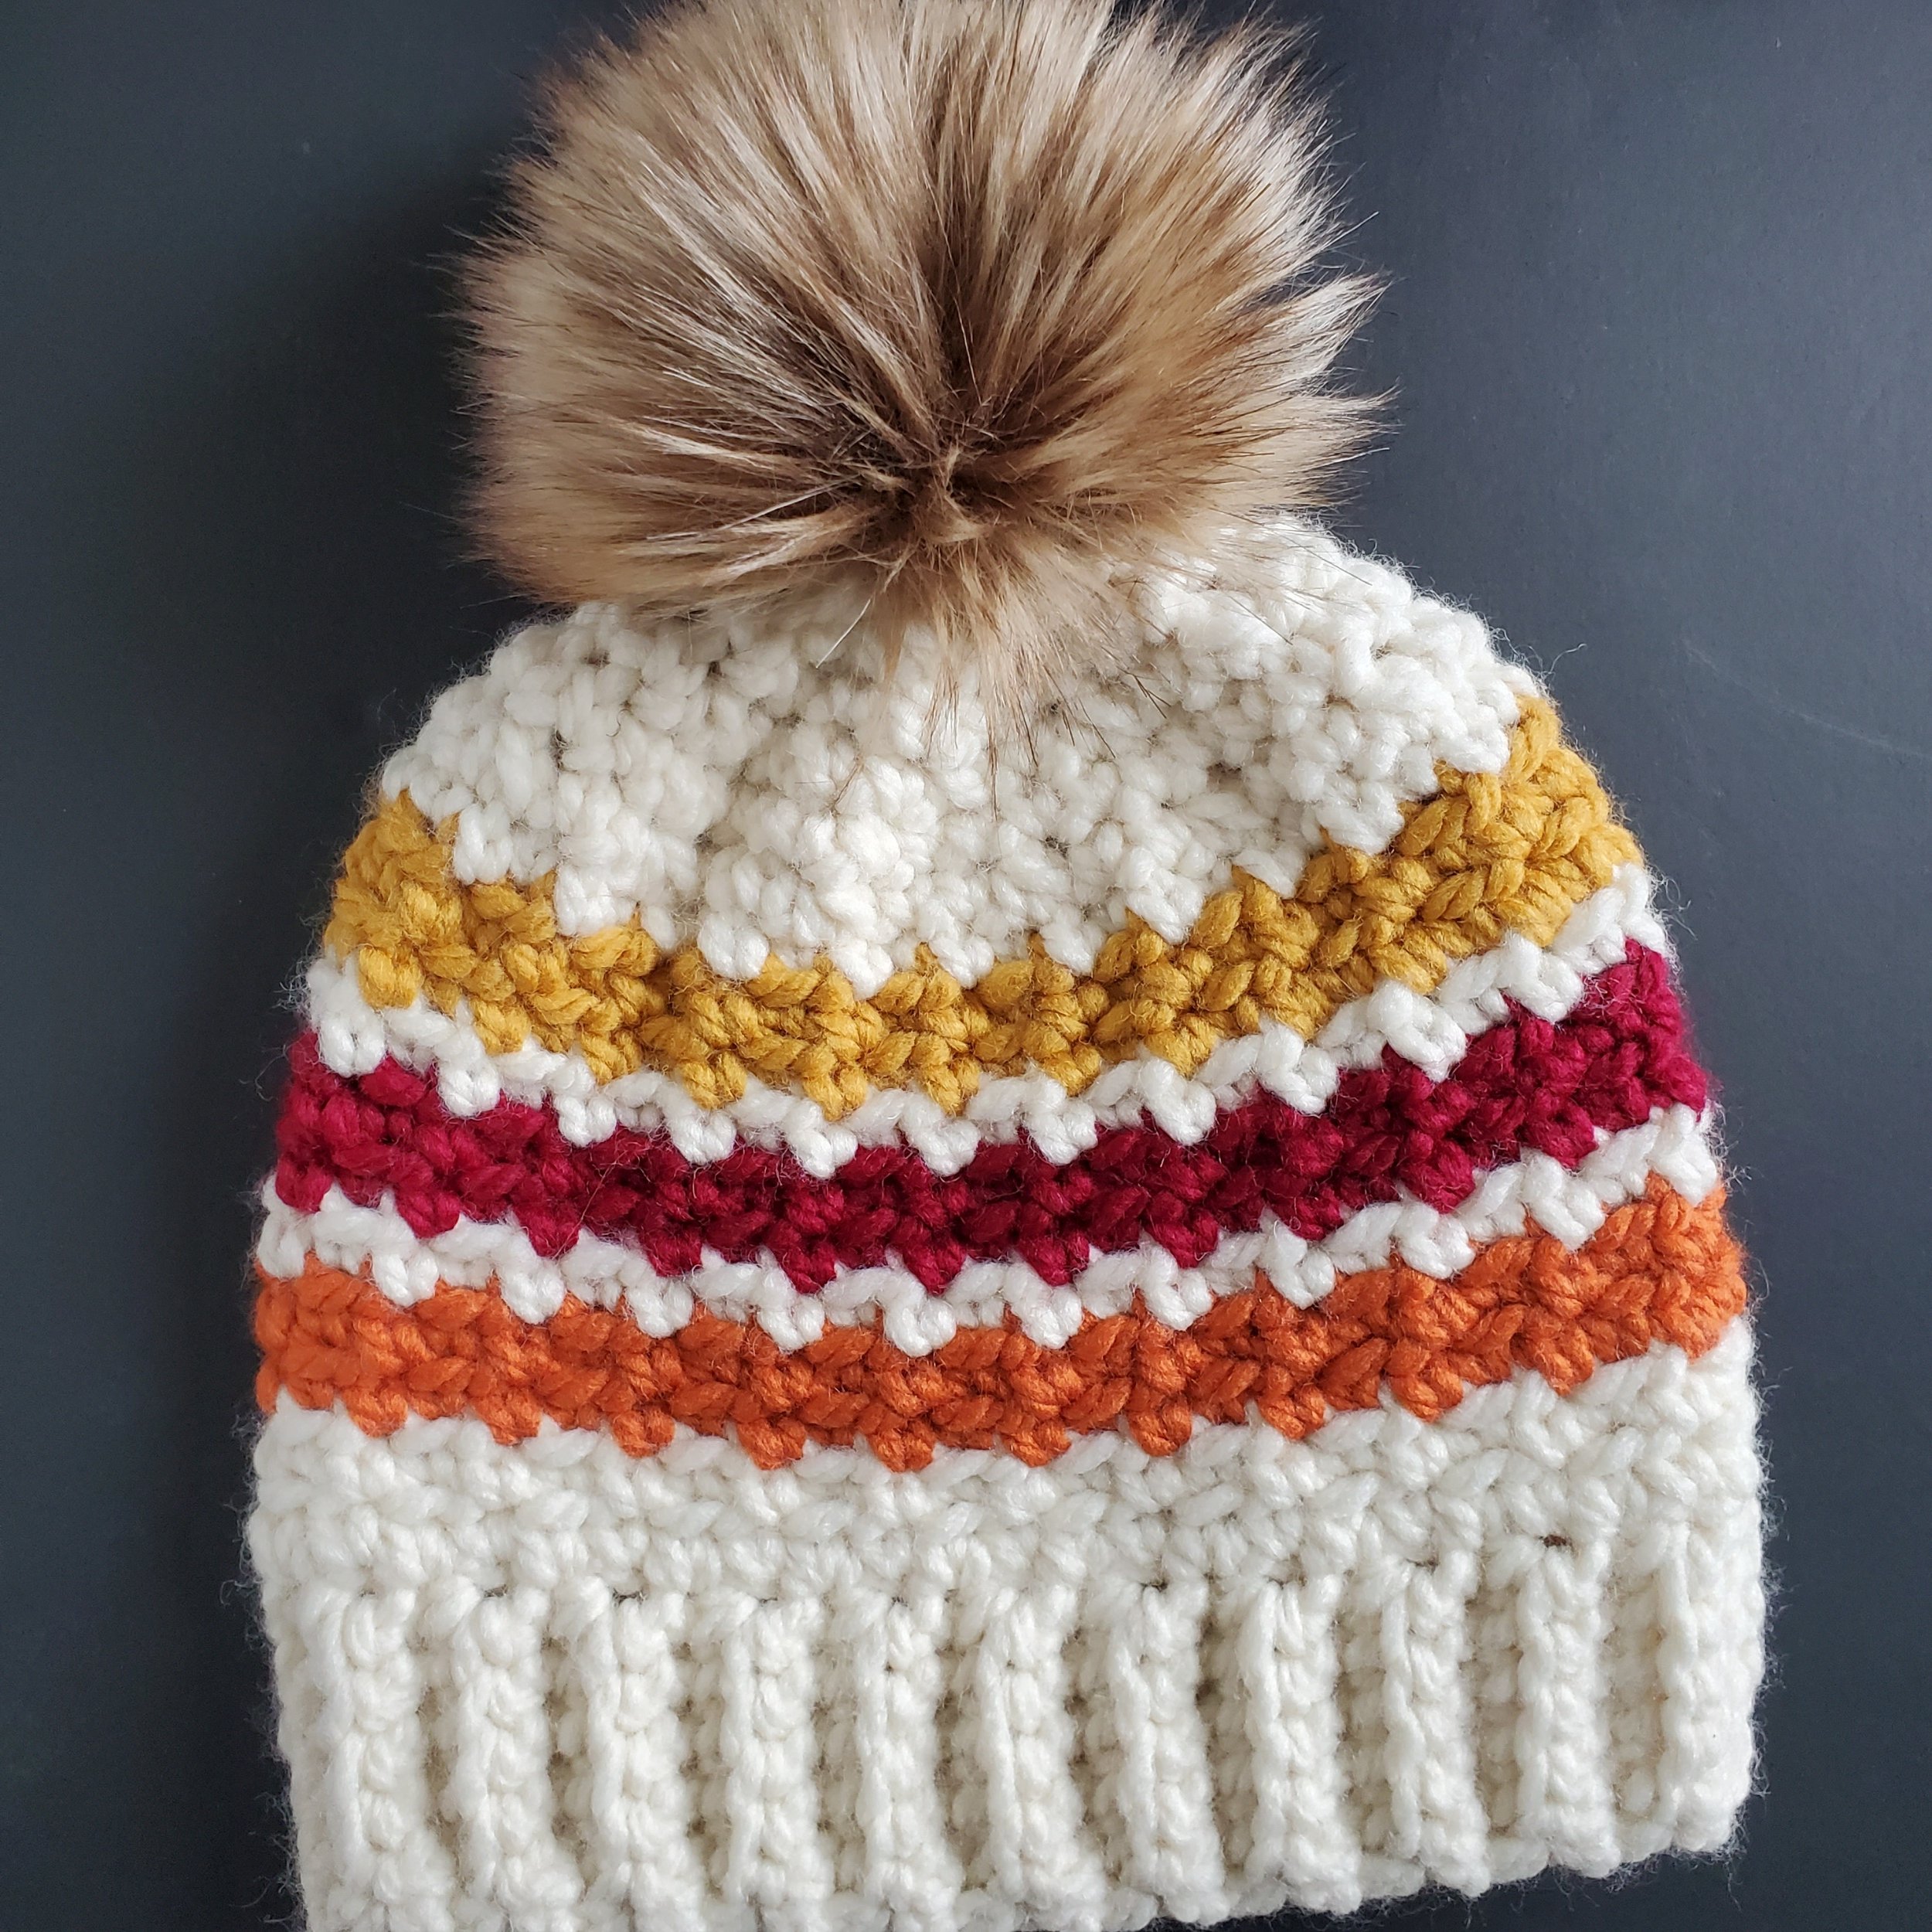
This pattern is like 2 in 1, you can make is with just one color or several colors, so if you like stripes, this is for you. Here is my fall version using all the bright reds and oranges. The construction for a solid color and multi colored beanie is different.
The secret is how you change colors, I wanted a clean look, instead of a spiral messy look that can be created if you worked with different colors continuously.
The rounds when using a solid color are continuous until the end but If you are making a multi colored hat, then start each round with a slip stitch. The truth is, you can not go wrong when it comes to making it your own, variegated yarn, solids or making stripes. it all depends on your taste
Crown
The way the hat is decreased is also different. I was on a mission to give you lots of options. The first option is to follow the same pattern as the body of the hat which blends in and makes it one piece. The second option is to make decreases by inserting the hook in the back only which creates fine ridges. Which would you pick?
alright, let’s get to it
MATERIALS
7 and 9 mm hook or hook needed to
obtain the gauge
Measuring tape
Pom-pom
Tapestry needle
Stitch marker
SKILL LEVEL
Beginner
GAUGE
9 sts by 10 rounds = 4” by 4”
ABBERVIATIONS
Sc - single crochet
Sc blo - single crochet back loop only
Sc2tog blo - single crochet 2 together in back loop
Sl st - slip stitch
Rep - repeat
YARDAGE
Style 1
120yd/110m
Style 2
Main color 80yd/73m. contrast color 40yd/29m
SIZE
Height 8.5”/22cm
Width 9”/3 laid flat
NOTES
The pattern uses Standard US terminology.
· The toque is worked bottom up. You start with ribbing then crochet the body.
· The body is worked in 2 ways
1. Make continuous round which is best for one color
2. Join with slip st at the end of round to allow smooth change of color when color blocking. This is perfect for scrap yarn to make fun color combinations
· Chains at the beginning of rows and rounds do not count as stitches.
· It can be worked with a single color or multiple colors depending on how you work the body
· Pattern is worked in multiples of two case adjustments are made.
· There 2 ways to finish the pattern when decreasing.
1. Follow the pattern as the body of the hat.
2. Work in the back loop to create some texture.
BRIM
NOTE: Leave a long tail (8”) to seam the brim later.
Using 7 mm hook
Ch 7
Row 1: Sc in the second ch from the hook and across (6) sts.
Row 2: Ch 1, turn, sc in both loops in the first st, sc blo in the next 4 sts, sc in both loops in the last st (6) sts.
Repeat row 2 until you reach row 46. It measures 19” laid flat. You can add or remove rows to your preferred size. Ensure they are in multiples 2.
After working the last row, fold the brim so that the first and last rows align. Use the long tail to seam the brim together. I used mattress stitch, but you are welcome to use the method you prefer.
Brim seem seamless sewn on than using slip stitch
Disclaimer
This page contains affiliate link to product I use and love.If you click and purchase, I receive a small commission at no cost for you.
BODY
Using 9mm
Note
Stitch count should be the same as the row count for the brim in case you need to adjust the size.
Solid color /Style 1
Round 1: Sc on each edge of the brim. (46) Place a stitch marker when you get to the end of round
Round 2: *Sc in the first st, sc blo in the next* Rep until you reach the stitch marker (46). You end with sc blo.
Round 3: Place a stitch marker, *sc in 1st st, sc blo in the next*. Rep from * to * until you reach the end of round (46) sts.
Rounds 4-11: Repeat round 3. (46)
Style 2/ Color block style
NOTE: Color change
To join the new color, loop the new yarn over the hook and pull through 2 loops to finish the sl st and ch 1.
You can change color every round or every 2 rounds. You can also just use 2 colors
Round 1: Sc on each edge of the brim. (46) Sl st into first sc and join.
Round 2: Ch 1, sc in the same st you made sl st, * sc blo in the next st, sc in the next st*. Rep from* to * around. Sl st into first sc and join. (46)
Round 3: Ch 1, *sc in the first st, sc blo in the next st*. Repeat ** around. Sl st using a different color into first sc and join. (46).
Round 4: Repeat round 3. (46)
Rounds 5-9: Repeat round 3 using a different color. (46)
Rounds 10-11: Repeat round 3. (46)
DECREASE
NOTE: if color blocking, you can continue with color from round 10 or you can change color again.
STYLE 1
Round 12: *sc, sc blo tog, sc blo next st, sc in the next st*. Repeat ** around. (34)
Round 13: *sc blo in the next 2 sts, sc in the next st*. (34)
Round 14: *sc blo 2tog, sc in the next st*. Repeat ** around. (23)
Round 15: sc blo in the next 2 sts, *sc in the next st, sc blo in next st” around. (23)
Round 16: sc, sc blo 2tog in each st around. (11)
STYLE 2
Round 12: *sc blo 2 tog, sc blo next 2 sts*. Repeat ** around. (34)
Round 13: sc blo in each st around. (34)
Round 14: *sc blo 2tog, sc blo in the next st*. Repeat ** around. (23)
Round 15: sc blo in each st around. (23)
Round 16: sc blo 2tog in each st around. (11)
FINISHING
Leave a long tail, cut yarn and fasten off. Weave through the last round on top of the toque and tighten until closed, weave in ends and add a pom-pom if you desire.
VOILA!!! YOU ARE DONE.I hope you had fun making the toque.
Please share your finished project with me on Instagram, I would love to see it!!! and tag me using #Allurebrim2.0 #croknitessentials and I would love to show it off!!


