

Crochet Cardigan Pattern for Beginners, Paula Cardigan
Cozy and flattering cardigan,
We all have that one “go to” garment in our wardrobe, right? Well, I am here to add this cozy cardigan to the list. This easy, light cardigan is great for someone who is slowly building their confidence into garment making. I can’t stress enough how easy it is.

Inspiration
Last year I designed a cardigan that was a hit on Youtube. Kimberly cardi got me thinking…Simple is the way to go, it inspired me to think of something simple that can be worn as a staple which is also versatile.
This pattern is made out of 5 rectangle and the sewn together, IT IS THAT SIMPLE. Kimberly is made out of shell stitch so I decided to keep the lacy stitch pattern even though they are different. The main goal was to have a cardigan that can be worn year around, depending on where you live. If you are like me, winter here comes with frigid temperatures, you can still wear this cardigan in the house.
Check out Paula hooded sweater using the same stitch and yarn!!

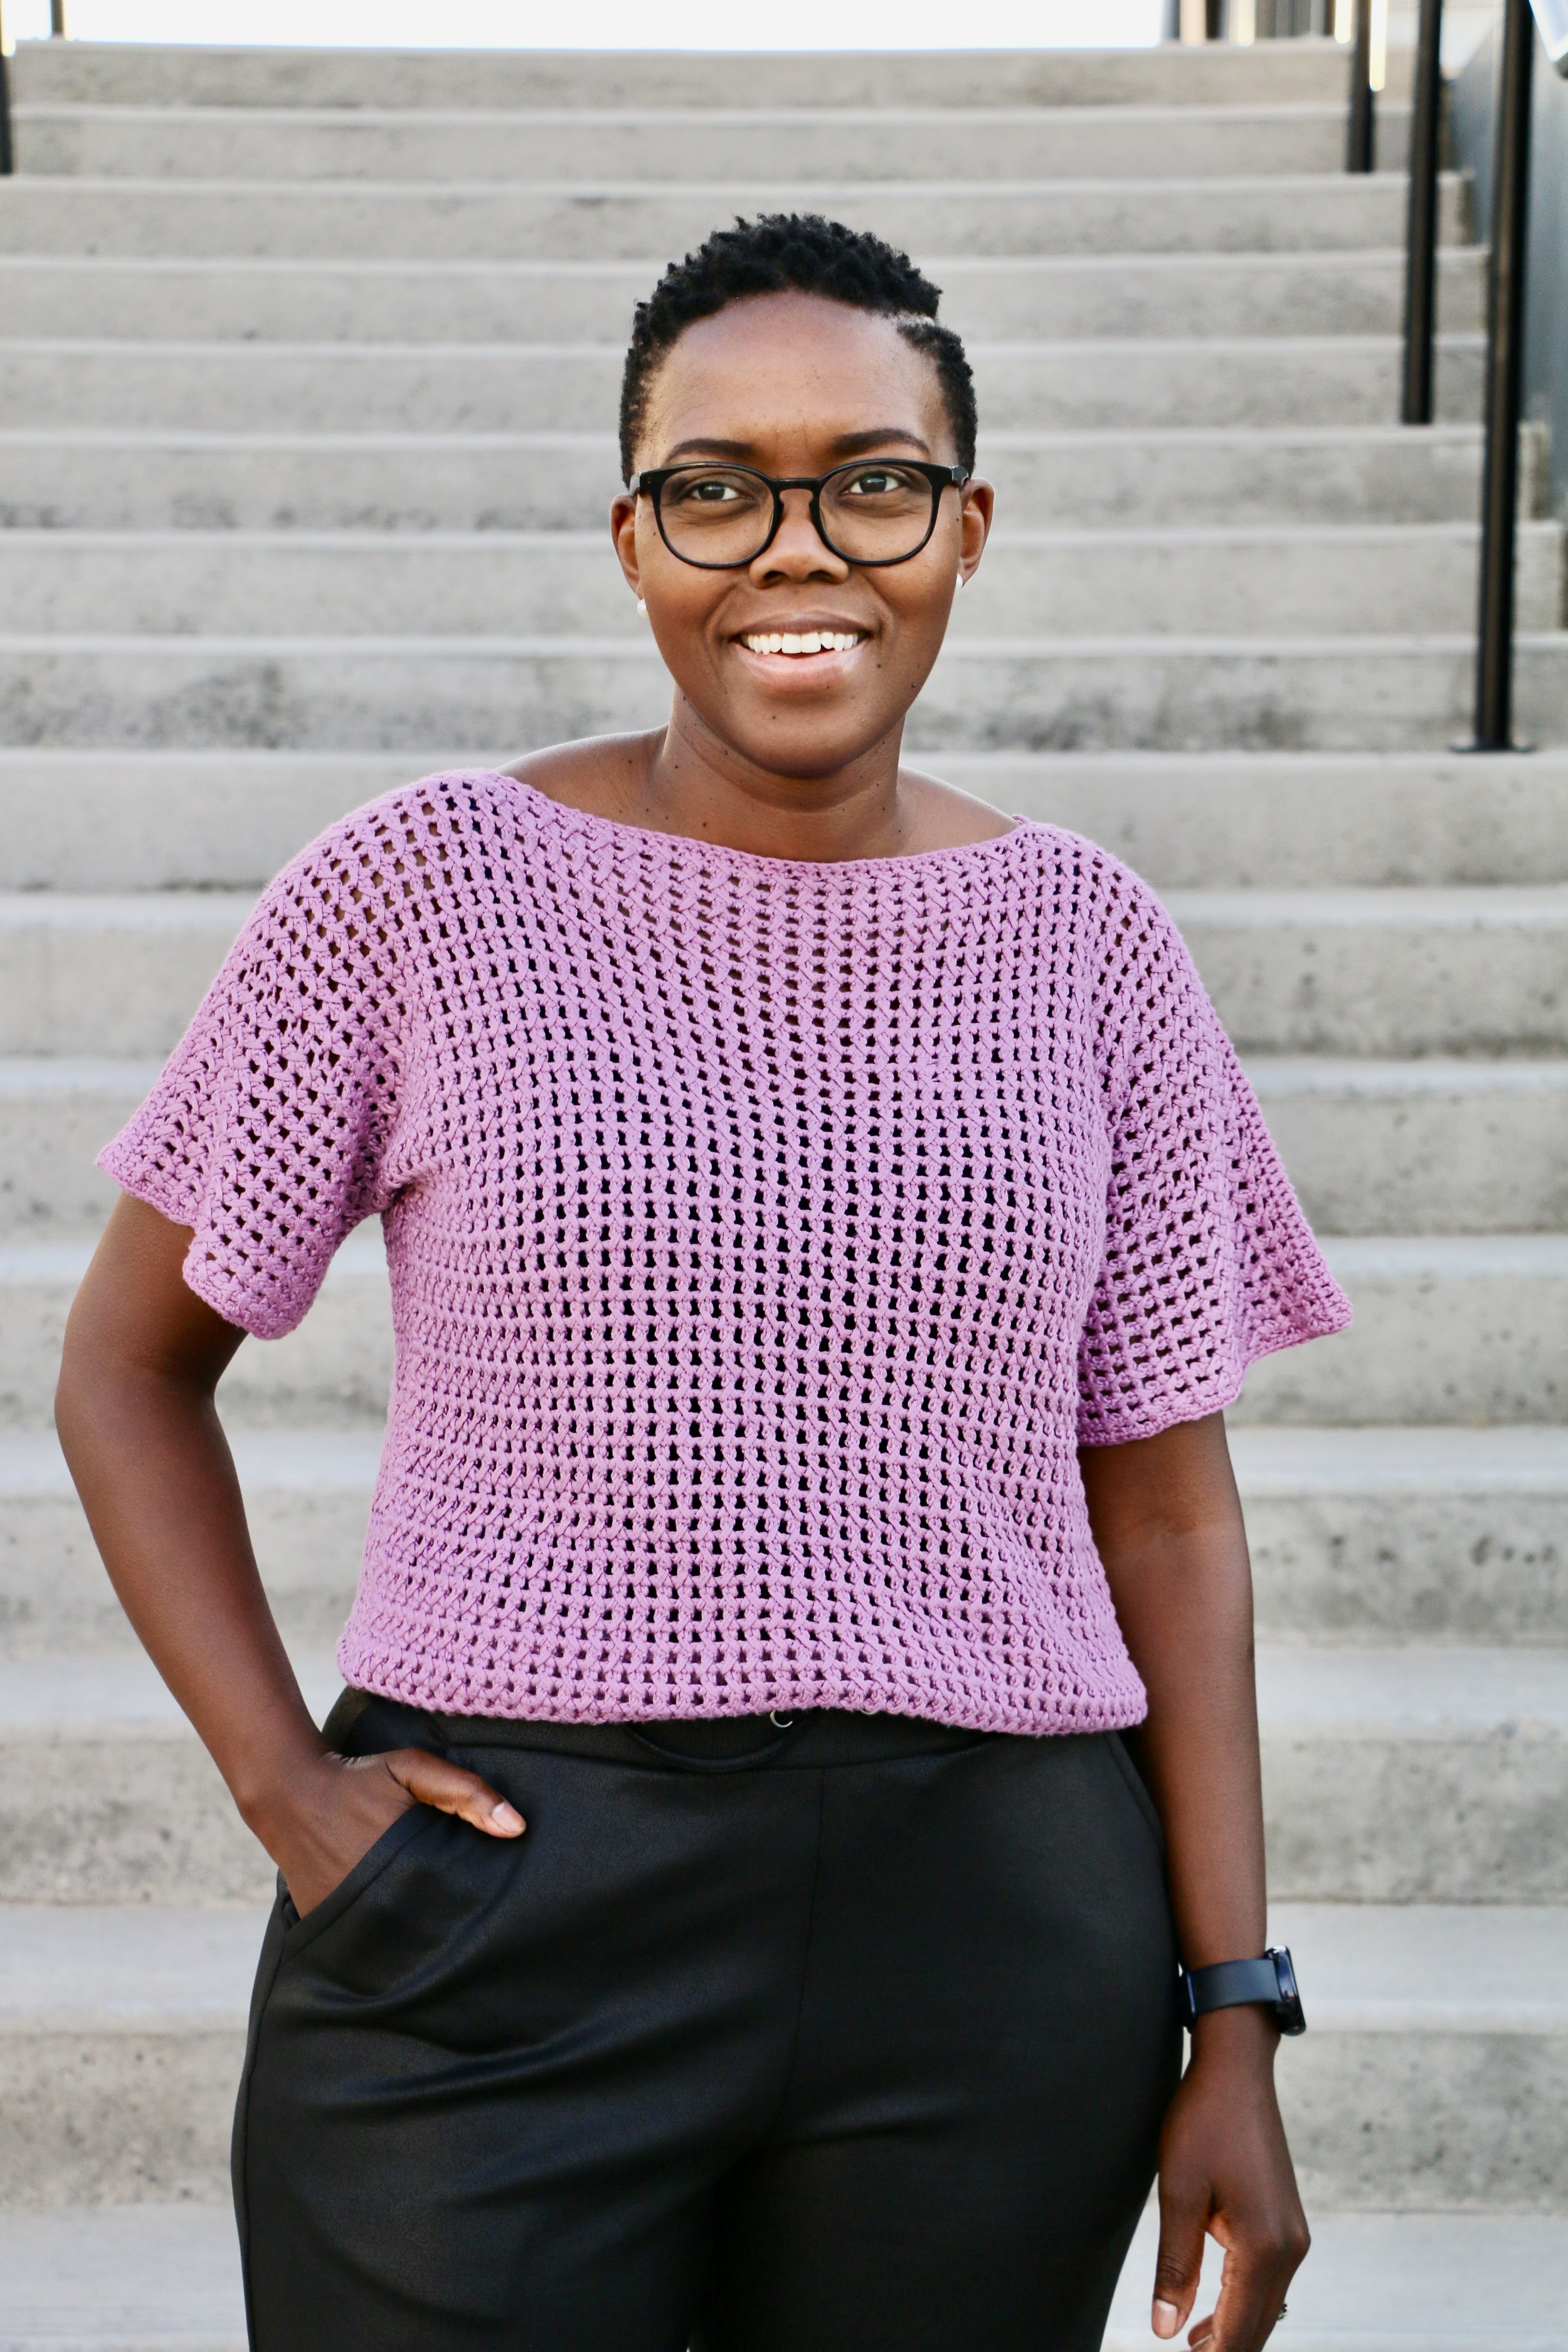
Yarn
I used Lionbrand Truboo for this pattern. It is sleek and soft and I have made a top usingI have made a top using this same stitch because I could not help myself.I was so happy with how it turned out, I had to share more with you. It is Bamboo yarn and the drape from this yarn is amazing. The colour options are so many I had a hard time picking, but here are some of my favourites

To add cherry on top.I also design a sweater with it. I covered everyone here. Summer top lovers, I got you here.Sweater lovers hereyou are. Paula Hoodie or pullover is also an amazing pattern that is exquisite, It can be dressed up or down.
I have summer top pattern from the same yarn and the same stitch. It shows how much love the combo. I have Summery Top here, Paula Top is as basic as it gets, two identical panels seamed together.
Disclaimer
This page contains affiliate link to product I use and love.If you click and purchase, I receive a small commission at no cost for you.

The first pattern I made using the stitch
SKILL LEVEL
Beginner
GAUGE (blocked)
10 rows X 10 crossed dc sts (20 sts in total) = 4”/ 10 cm
4mm/ G hook or hook needed to obtain gauge
Yarn: DK weight. The sample used Lion Brand Truboo, weight 3.100% rayon from bamboo.
3.5oz/241yd, 100g/220m
Measuring tape
ABBREVIATIONS US TERMINOLOGY
Sc Single crochet
Dc double crochet.
Sk skip
Fsc foundation chain single crochet
Ch chain
St(es) stitch(es)
Sl st Slip stitch
Blo back loop only
NOTES
● Pattern is written in standard US terms.
● Sizes are XS, S, (M, L, XL,) [2XL, 3XL, 4XL, 5XL].
● There is no wrong or right side of the pattern.
● Ch 3 counts as dc throughout, so you will be working into it’
● The pattern is made to fit with approximately 2”/5 cm of positive ease. If you are in between sizes, or want zero ease, size down. For a looser fit, size up.
● I used the mattress stitch for seaming but you are welcome to use what you are comfortable with.
FINISHED SIZE MEASUREMENTS
SIZE Finished Bust:In/cm LENGTH:In/cm YARDAGE:Yards/M
XS 32/81 30/76 2617/2393
S 36/91.5 30/76 2850/2606
M 40/101.5 32/81 2887/2640
L 44/111.5 32/81 3632/3321
XL 48/122 32/81 3945/3607
2XL 52/132 33/84 4342/3970
3XL 56/142 33/84 4480/4097
4XL 60/152 33/84 4775/4366
5XL 64/162.5 33/84 5252/4803
SPECIAL STITCH
To make a crossed dc, insert the hook into the gap between the stitches from the previous row.
Back panel
Fsc 80, 90, (100, 110, 120,) [130, 140,150, 160.]
Row 1: Ch 3, sk second ch, dc in the third ch, go back to skipped dc between the first dc and ch 3.
*Sk the next st, dc in the next st, dc in the skipped st. Repeat to the last st, dc in the last st. Ch 3 and turn.
Row 2: sk the first st, dc in the gap between the second and third sts from previous row. Go back dc between first and ch 3 from the previous row. * Sk the next st, dc between the gap, dc to the skipped st. Repeat to the last st, dc in the last st. Ch 3 and turn.
Repeat row 2 until you have worked 75, 75, (80, 80, 80,) [83, 83, 83, 83] rows. Or your desired length. Cut yarn and fasten off.
Front panels Make 2
Fsc 30, 36, (40, 46, 50,) [56 ,60, 66, 70]
Row 1: ch 3, sk second ch, dc in the third ch, go back to skipped dc between the first dc and ch 3.
*Sk the next st, dc in the next st, dc in the skipped st. Repeat to the last st, dc in the last st. Ch 3 and turn.
Row 2: sk the first st, dc in the gap between the second and third sts from previous row. Go back dc between first and ch 3 from the previous row. * Sk the next st, dc between the gap, dc to the skipped st. Repeat to the last st, dc in the last st. Ch 3 and turn.
Repeat row 2 until you have worked 75,75, (80, 80, 80,) [83, 83, 83, 83] rows. Or your desired length. Leave a long tail. Cut yarn and fasten off.
Sleeves (make 2)
Fsc 66,70, (76, 80 ,86,) [90, 96,100,100].
Row 1: ch 3, sk second ch, dc in the third ch, go back to skipped dc between the first dc and ch 3.
*Sk the next st, dc in the next st, dc in the skipped st. Repeat to the last st, dc in the last st. Ch 3 and turn.
Row 2: sk the first st, dc in the gap between the second and third sts from previous row. Go back dc between first and ch 3 from the previous row. * Sk the next st, dc between the gap, dc to the skipped st. Repeat to the last st, dc in the last st. Ch 3 and turn.
Repeat row 2 until you have worked 43,43, (45,45,) [45,47,47,47] rows. Continue on to the ribbing
Ribbing
Switching to 3mm hook or a hook 1mm smaller than your gauge hook,
Continue & ch 21 and turn.
Row 1: Sc into the second ch from the hook and each ch down toward the sleeve. Sl st into the first 2 sts on the sleeve. Ch 1 and turn. 20 sts
Row 2: Sc in the blo in each st across. Ch 1 and turn.
Row 3: Sc in the first st, sc blo of each st across, sl st into the next 2 sts on the panel. Ch 1 and turn.
Rep rows 2 & 3 until you reach the end of the panel. Leave a long tail to seam later. Cut yarn and fasten off.
FINISHING
Note
You are welcome to use seaming method of your choice. I used the mattress stitch for my cardigan
SEAMING
Use the locking stitch markers to hold front and back panels together.
1. Seam front panels to back panel along the top of each panel.
2. Lay panels flat. Mark the centre sleeve st with a stitch marker and align to the shoulder seam. Sew the sleeve onto the body, making sure you have the same number of rows for both panels for the sleeves.
Sides and Sleeves
Mark the centre sleeve st with a stitch marker and align the stitch marker with the
shoulder seam, ensuring you have the same number of rows for the front/back panels.
Sew the sleeve panel to the body panels.
Fold the cardigan at the shoulders and align rows, Use the long tail and seam the sleeves from the cuff towards the armpit and continue to the side of the cardigan. Repeat for the second sleeve and side. Note: It you do not have enough long tail, attach new yarn and seam the sides
Bottom Ribbing
Switching to 3mm hook
Attach yarn to bottom right corner, and ch 21 and turn.
Row 1: Sc into the second ch from the hook and each ch down toward the panel. Sl st into the first 2 sts on the panel, ch 1 and turn.
Row 2: Sc in the blo in each st across. Ch 1and turn.
Row 3: Sc in the first st, sc blo of each st across, sl st into the next 2 sts on the panel, ch 1 and turn.
Front panels
Using your 4mm hook or gauge hook, with RS facing out, attach yarn at the bottom
of one of the panels (not the ribbing), evenly work sc along the edges to the neck and
back down, making sure you don’t cause pulling or bunching. Cut yarn and fasten off
Front Ribbing
Using 3mm hook. Starting at the bottom ribbing, attach yarn and ch 26.
Row 1: Sc into the second ch from the hook and each ch down toward the panel. Sl st into the first 2 sts on the panel, ch 1 & turn.
Row 2: Sc in the blo in each st across. Ch 1 & turn.
Row 3: Sc in the first st, sc blo of each st across, sl st into the next 2 sts on the panel, ch 1 & turn.
Rep rows 2 and 3 up the first panel, across the unseamed back panel sts, and down
the second panel. Cut yarn and fasten off.
FINISHING
Weave in all ends and move on to blocking your cardigan.
VOILA!!! YOU ARE DONE. I hope you had fun making this Cardigan